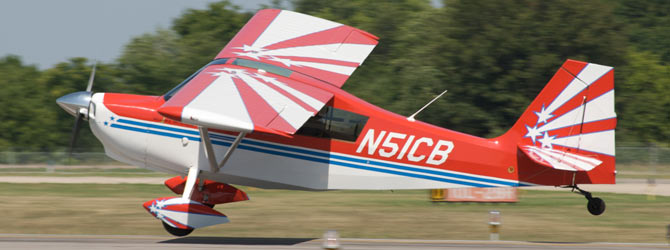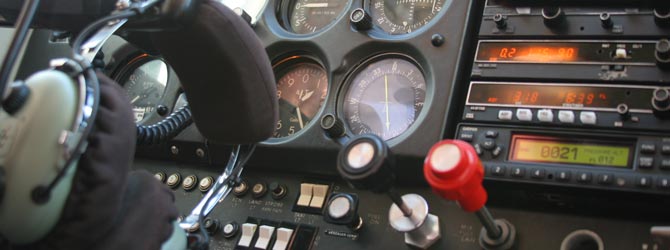
It was my very first solo; the winds were calm and I’d had a few approaches with my instructor already and was feeling pretty good. He asked me to pull in to the FBO on the other side of the airport to fill up (the plane was plenty full but I complied). As we got out and walked inside to grab a cup of coffee he pulled out my logbook, signed the solo endorsement and handed it back to me. “Don’t kill yourself.” I think there were some actual words of wisdom along with the instruction to do a few touch and goes and a reminder to not forget about picking him up when I was done, and I’m sure he had a handheld aviation band radio with him as well, but that part is all a little blurry now. What I remember is the thrill of heading back to the cockpit with no one else.
And then the utter terror of realizing that I didn’t have that constant voice of reminder sitting next to me. I’d certainly landed without assistance plenty of times, but my instructor was always there to say something when my airspeed drifted too far or if I was out of coordination. The landings actually went quite well; I was laser focused on looking great. I hit climb speed and held it exactly until pattern altitude, nailed the power reduction, made perfect 90 degree turns, and kept it trimmed out right at approach speed. Greased three in a row.
Getting Sloppy
Several weeks and a bunch of solo hours later, my landings weren’t so great. After a particularly rough landing that had me racing past the halfway point of the shorter runway at KIDA while stamping on the brakes, I parked the plane and called my instructor up for some more training. After a refresher I realized that what had slipped was my control of the approach – particularly the fact that I was using the throttle to control the airspeed, and trimming the plane for a specific descent rather than using throttle to control descent and pitch to control airspeed. So I hit my FSX rig for some practice.
One of the things that I love about Flight Sim is how well it replicates in my home cockpit what I do in the real cockpit. That said, it is a simulation there are inherently some differences, several of which can cause consternation for pilots who haven’t had a CFI sitting in the right seat drilling a few key concepts over and over (and over). One of the major issues I have stumbled upon is trim, and I think I can tackle this one by addressing two issues – the first is a technique issue that will make your flight sim that much more accurate, the second is a physics issue that just can’t be the same unless you own some seriously expensive equipment (probably more expensive than that Cherokee Six I keep showing my wife…)
Don’t use the throttle for speed
Wait – what? Ok, to be fair this isn’t completely true, obviously the throttle controls that forward movement (thrust) and if you don’t have enough, no amount of pitch will get you enough speed (at least not before the ground comes up to kiss your prop). But given enough forward movement, using the right controls for the right purposes will keep you out of trouble and looking like a pro. Just as I was getting some rough, long landings in my trainer by getting the controls mixed up, a well simulated trainer plane will do the same thing in Flight Sim. So let me talk you through a stabilized approach in a 172 – these work GREAT in the A2A 172 as well as the Carenado 172, although the Carenado may float a bit on flare. The default 172 is fine too, although it’s quite forgiving in my opinion.
Downwind
So you’re on downwind, established at pattern altitude – at KIDA that’s about 5,750’ MSL, 1,000’ AGL. As you look out your window and cross the point where you are parallel to the approach numbers, pull back the throttle to about 1,700 rpm, you can fiddle with this to get the right power setting but the idea here is to find a power setting that will put you in a good -500fpm descent at your best glide speed. In the case of the older 172’s for a normal landing that will be 70kts indicated, and between 1,700 and 1,800 rpm.
Base
Ok, power is established, now the plane will want to dive a bit – but hold it level until you reach glide speed (hey – you’re using pitch here to control speed). Once you hit 70kts, you can let the plane start to drift downward and trim to hold 70kts (I’ll talk about trim in a minute). Once you’ve got a steady 70kts, add a notch of flaps and add a touch of power to maintain 70kts. You may find you’re a little steeper now – between -500 and -700fpm, that’s totally acceptable. Your first few times, don’t worry too much about making that base turn as soon as you hit 45 degrees to the runway – get stable first and then we’ll worry about tightening up that pattern. Now that you’re stable, turn base and add one more notch of flaps. You may need to at just a touch of power (we’ll probably be between 1900 and 2000 rpm now) and trim for 70kts. Turn final – you should be right on the glide path, if not, add power to climb back up or reduce power to drift down depending on which direction you need to head.
Final
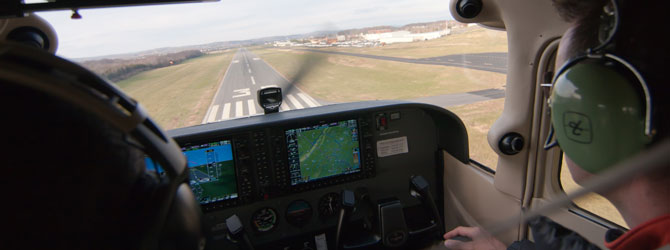
This is where you can get fiddly with the throttle, you should be established on a nice glide path, so look at that landing point and make sure it is staying in the same place on your windscreen. Use your throttle to keep on the glide path, and pitch to maintain approach speed. Crossing the threshold, slowly reduce power and begin to pull back to keep those wheels off as long as you can.
Here’s the mistake I find to be most common – on turn to final you find yourself too high, so you pitch the nose to get back on the glide path; causing your speed to increase. That will either cause you to drift back above the glide path, OR come in too hot. Even scarier is coming in below the glide path and pitching up to quickly regain the necessary altitude – of course that may result in an approach stall.
Fly it by the numbers a few times and you’ll find that you’re greasing more landings than not.
Trim
So here’s the one that requires a bit of a departure from real world technique, and it’s really rooted in the physics of the controller. The purpose of trim is to reduce the amount of pressure you have to put on the control surfaces in order to maintain a given attitude or orientation. Without going into the technical details of how the trim tab works, just think of it as the way to keep from wearing yourself out on those long flights. It’s also a HUGE help on approaches if you use it right.
Straight & Level
Let’s start with straight and level, that’s probably the easiest to explain. In the real plane I’ll get myself set up with appropriate cruise power and hold the yoke where I need to maintain level flight. Now I’ll turn the trim wheel until I no longer need much pressure on the yoke to keep the plane where I want it. Of course, my Saitek Yoke at home won’t stay in one place, even when I use that handy electronic trim switch that I assigned under my left thumb. So in the Sim, while the purpose of trim is the same (to keep from having to hold constant pressure on the control surfaces), the execution is different. Now the purpose becomes to leave the yoke centered and maintain a particular attitude. In straight and level, I’ll simultaneously trim and release control pressure until I can leave it at the center detente (or null zone). If you find that one more notch of trim either direction isn’t quite getting you where you need, you may need adjust the sensitivity down just a touch so that one click isn’t getting you quite so much travel on the trim wheel.
Approach
Use that trim on your approach too… as you’re coming in on final start to trim back a little so you have to hold just a little bit of forward pressure to maintain your approach speed, you’ll find that the flare is that much easier – particularly with airplanes that have heavier noses (the larger the plane typically the quicker that nose wheel wants to come down in tricycle gear aircraft).
This applies to the larger birds too – if you are trimmed for the right airspeed, you’ll find those approaches are quite a bit easier to nail; use the throttle to maintain glide slope and the pitch to maintain speed. When you play it back and look at yourself from outside you’ll set that gorgeous nose up attitude as you come in for the ATP quality landing.
This article was posted in Aviation, Basics, Blog, Real World
Please note: We reserve the right to delete comments that are snarky, offensive, or off-topic. If in doubt, read the Comments Policy.


